The Best Natural Remedies for Razor Burn and Bumps
That angry, burning sensation after shaving can turn your daily routine into a dreaded task. Whether you’re dealing with immediate stinging pain or those stubborn bumps that seem to linger for days, you’re not alone in this frustrating experience. Many people assume harsh chemicals or expensive treatments are their only options for relief.
This guide will show you how simple, natural ingredients from your kitchen and medicine cabinet can provide faster, gentler relief than you might expect. We’ve researched the science behind why these remedies work and tested the most effective application methods. You’ll learn exactly which natural solutions target your specific type of irritation and how quickly you can expect to feel better.
Contents
- At a Glance: The Best Natural Solutions
- The Science Made Simple: Why Razor Burn and Bumps Happen
- 1. Aloe Vera: Nature’s Instant Cooling Relief
- 2. Cold Compress: The Emergency Response for Angry Skin
- 3. Witch Hazel: The Gentle Astringent That Soothes
- 4. Tea Tree Oil: Natural Antimicrobial Protection
- 5. Coconut Oil: Deep Moisturizing and Healing Support
- 6. Oatmeal: The Gentle Exfoliator and Soother
- 7. Chamomile: Anti-inflammatory Comfort
- Common Mistakes That Make Razor Burn Worse
- Frequently Asked Questions
- Taking Action: Your Path to Smooth, Comfortable Skin
- Sources:
At a Glance: The Best Natural Solutions
| Natural Remedy | Best For | How Fast It Works | Application Method |
|---|---|---|---|
| Aloe Vera | Immediate cooling relief | Within minutes | Apply pure gel directly |
| Cold Compress | Reducing inflammation | Instantly | Apply for 5-10 minutes |
| Witch Hazel | Tightening pores, reducing redness | 15-30 minutes | Dab with cotton pad |
| Tea Tree Oil | Preventing infection | 2-4 hours | Dilute and apply sparingly |
| Coconut Oil | Deep moisturizing | 30 minutes | Massage gently into skin |
| Oatmeal Paste | Sensitive, irritated skin | 20-30 minutes | Leave on as mask |
| Chamomile Tea | Calming inflammation | 10-15 minutes | Use cooled tea as compress |
The Science Made Simple: Why Razor Burn and Bumps Happen
Understanding Razor Burn Vs. Razor Bumps
Razor burn is a surface-level irritation-red, stinging, and often showing up right after you shave. It happens when the razor scrapes or tugs at your skin, especially if you’re using a dull blade or skipping prep steps.
Razor bumps, on the other hand, form when shaved hairs curl back into the skin instead of growing outward. This triggers a localized immune response, creating raised, sometimes painful bumps that can linger for days. Understanding this difference is key to choosing the right natural remedies for razor burn or bumps.
The Role Of Hair Direction and Skin Sensitivity
Shaving against the grain may give a closer shave, but it also increases your risk of both razor burn and ingrown hairs. Curly or coarse hair types are especially prone to curling back into the skin, while sensitive skin is more likely to react with redness and inflammation.
Even the best razor won’t prevent irritation if your technique ignores your hair’s natural growth pattern or your skin’s sensitivity. Always map your hair direction before you start, and use short, gentle strokes with the grain for the first pass.
How Bacteria and Inflammation Create the Perfect Storm
Micro-tears from shaving open the door for everyday bacteria on your skin or in your environment. Once inside, they can cause minor infections that amplify redness and swelling. This inflammation not only stings but can trap hairs beneath the surface, turning a simple nick into a stubborn razor bump.
Reducing bacterial load and calming inflammation are two essential goals if you’re looking for how to get rid of razor bumps naturally. That’s why many effective home remedies for razor burn include natural antimicrobials and anti-inflammatories.
1. Aloe Vera: Nature’s Instant Cooling Relief
Why Aloe Vera Works So Well for Razor Burn
Aloe vera contains enzymes, vitamins C and E, and polysaccharides that soothe inflammation and support skin repair. Its high water content delivers instant cooling, while compounds like glycoproteins reduce redness and discomfort.
This makes aloe vera one of the trusted all natural remedies for razor burn, offering both relief and gentle healing without clogging pores. Aloe vera is also great for maintaining healthy skin and hair. Its soothing properties can help enhance the beauty routine by promoting hydration and nourishment for face and hair alike.
How to Choose the Right Aloe Vera Product
Fresh Aloe vs. Store-Bought Gel
- Fresh aloe: Cut a leaf from a mature plant, slice it open, and scoop out the clear inner gel. It’s 100% pure with no additives.
- Store-bought gel: Convenient but often contains thickeners, preservatives, or alcohol that can irritate freshly shaved skin.
What to Look for on Labels
- Choose products labeled “100% aloe vera gel” or “aloe barbadensis leaf juice” as the first ingredient.
- Avoid gels with alcohol, parabens, artificial fragrances, or triethanolamine (TEA), which may sting or dry out irritated skin.
Step-by-step Application Method
- Clean the affected area gently with cool water and pat dry-never rub.
- Apply a thin layer of pure aloe vera gel directly onto the razor burn or bumps.
- Let it air dry; don’t rinse off.
- Reapply 2–3 times daily, especially after showering.
When You’ll Feel Relief
Most people notice a cooling sensation within minutes. Redness and tightness typically begin to fade within 1–2 hours. For ongoing razor burn home remedy use, consistent application over 24–48 hours can significantly reduce irritation and help prevent bumps from worsening.
Also See: The Top 9 Iron-rich Foods to Fight Fatigue & Anemia
2. Cold Compress: The Emergency Response for Angry Skin
The Science Behind Cold Therapy
Cold constricts blood vessels, which immediately reduces swelling and numbs nerve endings. This dual action makes cold compresses one of the fastest ways to calm razor burn and prevent bumps from becoming more inflamed.
As a first-response remedy for razor rash, it’s simple, free, and highly effective-especially when you need fast relief.
What You Need for an Effective Cold Compress
Ice Pack Method
- Wrap ice cubes or a gel pack in a clean, thin cloth.
- Never apply ice directly to skin-it can cause frostbite or further damage.
Frozen Spoon Technique
- Place metal spoons in the freezer for 10–15 minutes.
- Gently press the rounded back of the spoon against individual bumps or irritated patches-ideal for small areas like the bikini line or underarms.
Cold Tea Bag Approach
- Steep a plain black or green tea bag, let it cool in the fridge for 5 minutes, then place it on the affected area.
- Tea’s tannins add an extra anti-inflammatory boost to the cold effect.
Proper Application Timing
- Apply the compress for 5–10 minutes at a time.
- Wait at least 20 minutes before reapplying to avoid overcooling the skin.
- Use up to 3–4 times a day during the first 24 hours after shaving.
Signs It’s Working
You’ll know the cold compress is helping when the burning or itching sensation dulls quickly, redness visibly decreases, and the skin feels less tight or swollen. If you’re wondering what helps with razor burn in a pinch, this remedy delivers almost instantly.
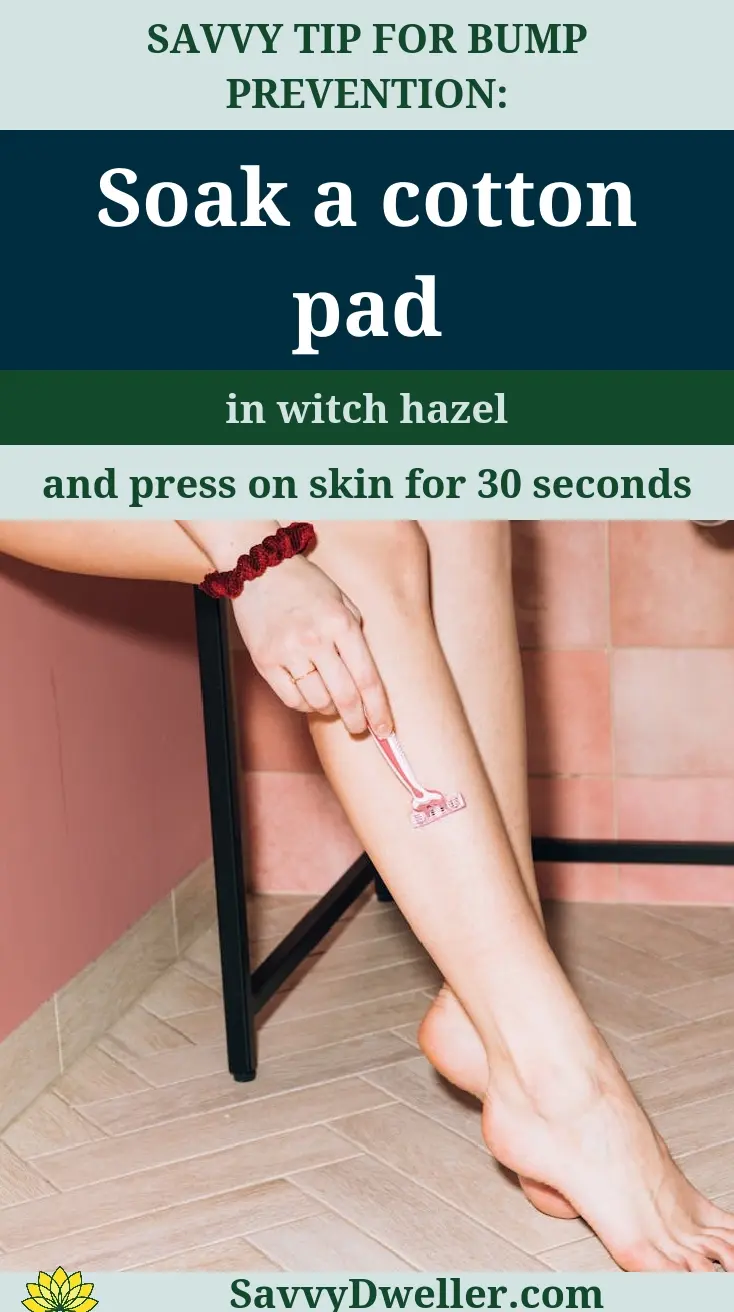
3. Witch Hazel: The Gentle Astringent That Soothes
How Witch Hazel Aids Razor Burn Recovery
Witch hazel works as a natural astringent that gently tightens pores and reduces inflammation caused by shaving. Its tannins help soothe redness and calm the stinging sensation common with razor burn, making it a trusted remedy for razor burn and bumps.
Choosing Pure Vs. Alcohol-based Witch Hazel
Opt for alcohol-free, pure witch hazel distilled from the plant’s leaves and bark. Alcohol-based versions may dry out your skin further and worsen irritation-especially if you’re searching for a gentle, all-natural remedy for razor burn.
Application Techniques That Work
Cotton Pad Method
- Pour a small amount of pure witch hazel onto a clean cotton pad.
- Gently dab (don’t rub) the affected area after shaving.
- Let it air dry-no rinsing needed.
Spray Bottle Application
- Transfer witch hazel into a clean spray bottle.
- Mist lightly over clean, dry skin post-shave.
- Pat dry with a soft towel or let it absorb naturally.
What to Expect During Healing
You should notice reduced redness and discomfort within 15–30 minutes. With consistent use after shaving, witch hazel helps prevent future razor bumps by keeping pores clean and minimizing bacterial buildup. It’s a simple yet effective home remedy for razor burn that supports long-term skin resilience.
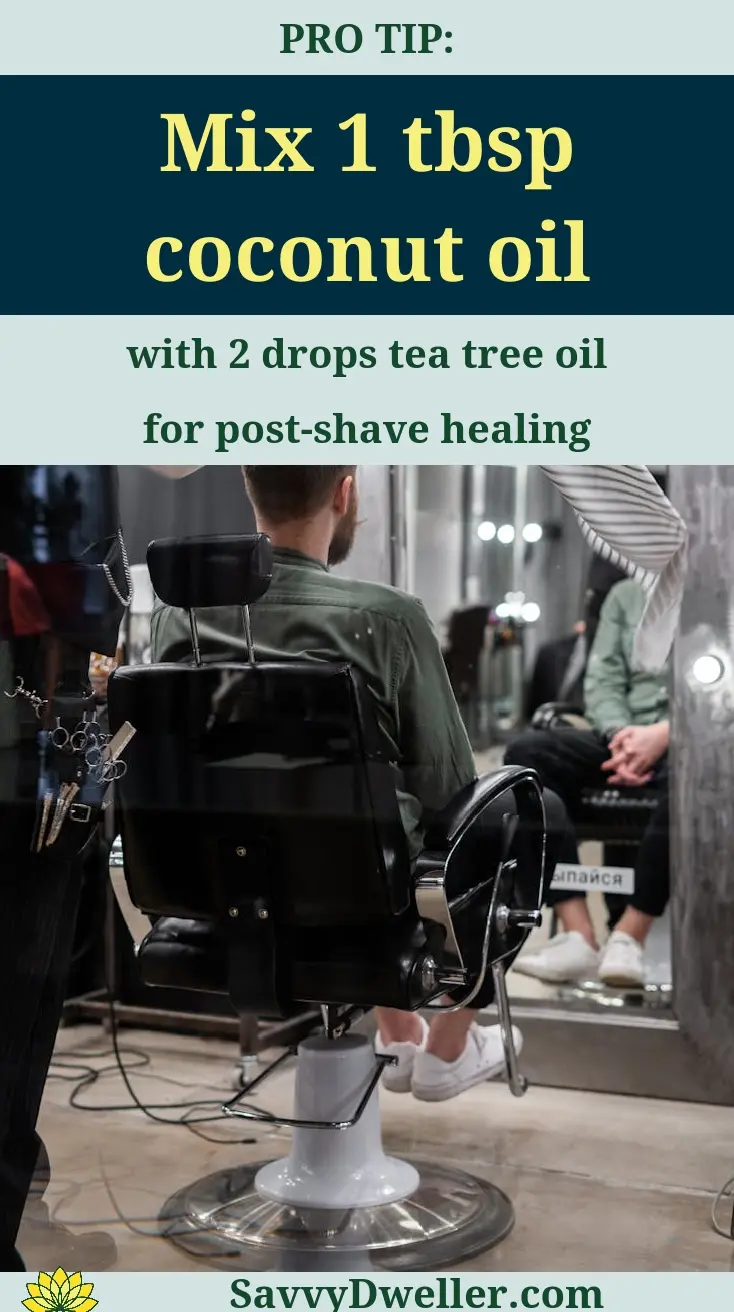
4. Tea Tree Oil: Natural Antimicrobial Protection
Why Tea Tree Oil Supports Bump Prevention
Tea tree oil offers natural antimicrobial properties that help keep ingrown hairs and razor bumps from becoming infected. This makes it a powerful ally in your search for how to get rid of razor bumps naturally and prevent them from returning. Using tea tree oil can also help in the prevent and treatment of ingrown hairs, making your skincare routine more effective.
Essential Dilution Guidelines
Never apply tea tree oil directly to the skin-it’s too potent and can cause irritation. Always dilute it with a gentle carrier oil to create a safe, effective remedy for razor bumps.
Safe Carrier Oils to Use
- Jojoba oil
- Sweet almond oil
- Fractionated coconut oil
Proper Mixing Ratios
- For facial or sensitive areas: Mix 1–2 drops of tea tree oil with 1 teaspoon of carrier oil.
- For body areas like legs or underarms: Use 3–4 drops per teaspoon of carrier oil.
Application Method for Sensitive Areas
- Cleanse the area with cool water and pat dry.
- Apply a thin layer of your diluted tea tree oil mixture using a cotton swab.
- Use once daily until bumps improve-no more than twice daily to avoid over-drying.
Warning Signs to Watch for
If you notice increased redness, itching, or a burning sensation, discontinue use immediately. Even natural remedies for razor burn can irritate sensitive skin if overused or improperly diluted. Always patch-test a small area before full application.
5. Coconut Oil: Deep Moisturizing and Healing Support
The Moisturizing Power Of Coconut Oil
Coconut oil provides deep hydration that helps repair the skin barrier after shaving. Its fatty acids soothe irritation while forming a protective layer-making it a go-to natural remedy for razor burn and bumps, especially for dry or flaky skin.
Virgin Vs. Refined: Which Works Better
Choose unrefined, virgin coconut oil. It retains more antioxidants and anti-inflammatory compounds than refined versions, offering better support for healing and soothing. For those seeking the best way to get rid of shaving bumps without harsh chemicals, virgin coconut oil is the top choice.
How to Apply Without Clogging Pores
Warming Technique
- Scoop a pea-sized amount into your palm.
- Rub hands together to gently warm and melt the oil.
Gentle Massage Method
- Using your fingertips, massage the oil into clean, dry skin using upward, circular motions.
- Focus on areas prone to razor burn but avoid over-applying-less is more to prevent pore congestion.
Best Times to Apply
Apply coconut oil at night after your last shave of the day, allowing it to work overnight without interference from sweat or clothing friction. You can also use it in the morning on non-shaving days as part of a preventative routine to keep skin supple and reduce the risk of future bumps.
6. Oatmeal: The Gentle Exfoliator and Soother
How Oatmeal Supports Irritated Skin
Oatmeal is a time-tested natural remedy for razor burn and bumps because it soothes inflammation while gently lifting dead skin cells without scrubbing. Its compounds-like avenanthramides-help calm redness and itching, making it ideal for skin that’s raw from shaving. This makes oatmeal a standout choice among natural remedies for razor burn when your skin feels tender and reactive.
Creating the Perfect Oatmeal Paste
Grinding Methods
Start with plain, unflavored rolled oats-not instant or flavored varieties. To create a fine, non-abrasive texture:
- Use a blender or food processor to pulse oats into a fine powder.
- If you don’t have one, place oats in a sealed plastic bag and roll with a rolling pin until powdery.
- A coffee grinder (dedicated to non-coffee use) also works well for small batches.
Adding Soothing Ingredients
- Water or distilled water (for basic paste)
- Cooled chamomile tea (adds anti-inflammatory benefits)
- 1 teaspoon honey (natural humectant that supports healing)
- 1 teaspoon plain yogurt (lactic acid gently exfoliates without irritation)
Application and Timing
Mix 2 tablespoons of ground oatmeal with enough liquid to form a thick but spreadable paste. Apply a thin layer directly to the affected area using clean fingers or a soft brush. Leave it on for 15–20 minutes-this gives the colloidal oatmeal time to form a protective barrier and reduce irritation. Avoid talking or moving the area too much to prevent cracking the paste.
Removal Without Further Irritation
Rinse off with lukewarm water using only your hands-no washcloths or sponges. Gently splash water until the paste loosens and flows away. Pat dry with a soft towel; never rub. Follow with a light moisturizer like aloe or diluted coconut oil if your skin feels tight. This method is a gentle home remedy for razor burn that respects your skin’s healing process.
7. Chamomile: Anti-inflammatory Comfort
The Calming Properties Of Chamomile
Chamomile contains bisabolol and apigenin-natural compounds that reduce swelling and redness. When used as a remedy for razor rash, it helps quiet the immune response that causes bumps to flare up. Its mild nature makes it a trusted natural remedy for razor burn and bumps, even on sensitive areas like the bikini line or neck.
Preparing Chamomile Treatments
Tea Compress Method
- Steep 2 chamomile tea bags in 1 cup of boiling water for 10 minutes.
- Let the tea cool completely-never apply warm liquid to irritated skin.
- Soak a clean cloth or cotton pad in the cooled tea.
- Hold gently against the affected area for 10–15 minutes.
Essential Oil Application
Chamomile essential oil (German or Roman) is highly concentrated and must be diluted:
- Mix 1 drop of chamomile essential oil with 1 teaspoon of carrier oil (like jojoba or sweet almond).
- Do a patch test first on a small area to check for sensitivity.
- Apply sparingly with a cotton swab only to inflamed spots-not the entire area.
Best Practices for Application
Use chamomile treatments once or twice daily until redness subsides. Always use fresh brews-don’t reuse tea that’s been sitting out. Store any leftover cooled tea in the fridge for up to 24 hours. This is one of the most soothing remedies for razor burn and bumps when your skin feels hot or stings.
Combining With Other Remedies
Chamomile pairs beautifully with oatmeal-use cooled chamomile tea as the liquid base for your oat paste. You can also follow a chamomile compress with a thin layer of aloe vera gel to lock in calming benefits. These layered, all-natural approaches support faster relief without overwhelming your skin. For those with sensitive skin, a soothing oatmeal honey scrub can provide gentle nourishment and hydration. This natural combination helps to calm irritation while leaving the skin feeling soft and replenished.
Common Mistakes That Make Razor Burn Worse
Over-cleansing the Affected Area
Washing too often strips your skin of its natural oils, worsening dryness and irritation. Stick to one gentle cleanse per day—use lukewarm water and a fragrance-free cleanser only if necessary, or try oil cleansing appropriate for your skin type.
Using Products With Harsh Fragrances
Alcohol, synthetic perfumes, and menthol might feel “clean,” but they trigger more inflammation. Check labels: if you see “fragrance” or “parfum,” skip it. This is crucial when trying any remedy for razor burn and bumps.
Applying Remedies to Dirty Skin
Natural remedies work best on clean skin-but “clean” doesn’t mean scrubbed raw. Gently rinse with water before applying aloe, oatmeal, or chamomile. Dirt or leftover shaving cream can trap bacteria under soothing pastes.
Continuing to Shave Over Irritated Areas
Shaving over active razor bumps or burn reopens micro-tears and invites infection. Give your skin 2–3 days to recover. If you must groom, trim instead of shave-a guard on your electric trimmer prevents blade contact.
Using Undiluted Essential Oils
Tea tree, lavender, or chamomile oils straight from the bottle can cause chemical burns. Always dilute: 1–2 drops per teaspoon of carrier oil. This rule is non-negotiable for safe, effective home remedies for razor burn.
Ignoring Your Skin’s Reaction Signals
Stinging, increased redness, or new bumps after applying a remedy means stop immediately. Your skin is telling you it’s overwhelmed. Try a simpler approach-like a cold chamomile compress-and skip active ingredients for 24 hours. Listening to these cues is key to learning how to get rid of razor bumps naturally without setbacks.
Frequently Asked Questions
How Can I Prevent Razor Burn and Bumps Before They Start?
Prevention starts with proper shaving technique. Always shave after a warm shower or bath to soften hair and open pores, and use a sharp, single-blade razor to reduce friction. Shave in the direction of hair growth, and avoid stretching the skin tightly. Applying a natural pre-shave oil, like jojoba or sweet almond oil, can create a protective barrier.
Additionally, exfoliate gently 1-2 times per week with a soft cloth or mild scrub to remove dead skin cells and prevent ingrown hairs. After shaving, rinse with cool water to close pores and apply a soothing, alcohol-free moisturizer immediately. Wearing loose-fitting clothing can also minimize irritation.
Can I Use Multiple Natural Remedies at the Same Time?
Yes, but layer them carefully to avoid irritation. Start with a base treatment like a cold compress or witch hazel to reduce inflammation, then follow with a moisturizer such as coconut oil once the skin is dry. Allow each layer to absorb fully before applying the next to prevent clogging pores.
However, avoid combining potent ingredients like tea tree oil with other essential oils without patch testing first. If you experience increased redness, stick to one remedy at a time. For example, use aloe vera for daytime cooling and a thicker oatmeal paste at night for overnight healing.
Are There Any Natural Ingredients I Should Avoid if I Have Sensitive Skin?
Yes, some natural ingredients can be too harsh. Avoid undiluted essential oils like tea tree, lemon, or peppermint, as they may cause burns or allergic reactions. Also, steer clear of astringents with high alcohol content; opt for alcohol-free witch hazel instead. Incorporating gentle and soothing essential oils can provide anxiety and stress relief without harmful side effects. The best essential oils for relaxation include lavender, chamomile, and bergamot, known for their calming properties.
Always patch test a new remedy on a small area before full application. Ingredients like baking soda or apple cider vinegar, while popular, can disrupt skin pH and worsen irritation. Stick to gentle options like chamomile or colloidal oatmeal, which are less likely to cause reactions.
What Should I Do if My Razor Burn Doesn’t Improve With Natural Treatments?
If there’s no improvement after 2-3 days, stop shaving the area and avoid further application of remedies to prevent additional irritation. Look for signs of infection, such as increased redness, pus, or fever, and consult a healthcare provider if these occur.
In the meantime, keep the skin clean and dry, and consider switching to hypoallergenic shaving products. Persistent razor burn might indicate an underlying issue like folliculitis, which may require medical treatments like topical antibiotics. Natural remedies are supportive but not a substitute for professional care when needed.
Taking Action: Your Path to Smooth, Comfortable Skin
You now have a complete toolkit of natural remedies that can transform your post-shaving experience from painful to pleasant. These time-tested solutions work because they address the root causes of razor burn and bumps-inflammation, bacterial growth, and skin barrier damage-without harsh chemicals or expensive treatments.
Start with one or two remedies that appeal to you most, whether it’s the instant relief of aloe vera or the deep healing of coconut oil. Remember, consistency matters more than perfection. Your skin will thank you for choosing gentle, natural approaches that support its healing process rather than fighting against it.
Ready to explore more natural wellness solutions for your home and body? Check out Savvy Dwelling for research-backed tips that make healthy living simple and sustainable. Your journey to healthier skin starts with the next shave-make it count.
Sources:
- What Home Remedies Work Best To Get Rid Of Razor Bumps
- 11 Natural Razor Burn Remedies To Soothe Your Skin | Hello Glow
- 12 Razor Burn Remedies That Are Expert-Approved
- Razor Bumps: Causes, Home Remedies, and Treatment
- Skin Experts Reveal The Best Products For Razor Burn And Bumps | Garden City, NY & Syosset, NY | Borealis Dermatology