The Best Way to Clean a Burnt Crock-pot or Slow Cooker
Staring at a slow cooker with burnt, stubborn food stuck to the bottom can feel overwhelming. You’re not alone in this frustrating kitchen disaster—it happens to the best of us when we’re juggling busy schedules and trying to create wholesome meals for our families. That charred mess might look impossible to clean, but it’s absolutely fixable.
This comprehensive guide will walk you through proven, step-by-step methods that actually work to restore your slow cooker to like-new condition. We’ve tested multiple approaches and identified the most effective techniques for different types of burns and insert materials. You’ll have your trusty kitchen companion sparkling clean and ready for your next meal in no time.
Contents
- At a Glance: The Best Solutions
- The Science Made Simple: Why Food Burns in Slow Cookers
- 1. The Baking Soda and Hot Water Soak Method
- 2. The Baking Soda and Vinegar Paste Technique
- 3. The Boiling Water and Dish Soap Method
- 4. Commercial Cleaner Solutions
- 5. Special Cleaning Techniques for Lids and Gaskets
- 6. The Overnight Soaking Method for Extreme Burns
- 7. Safe Scraping and Scrubbing Techniques
- Common Mistakes to Avoid When Cleaning Burnt Slow Cookers
- Frequently Asked Questions
- Final Words
At a Glance: The Best Solutions
Quick Reference for Burnt Slow Cooker Cleaning
Whether you’re dealing with light scorching or a full-on burnt-on mess, the right method makes all the difference in your effort to clean a burnt slow cooker. Not every technique works for every level of burn-and using the wrong one can risk damaging your insert.
Table: Best Methods by Burn Severity
| Burn Severity | Best Cleaning Method | Time Required | Safe for Non-Stick? |
|---|---|---|---|
| Light burns or surface discoloration | Baking soda and hot water soak | 15–30 minutes | Yes |
| Moderate stuck-on food or scorch marks | Baking soda and vinegar paste | 30–60 minutes | Yes (with soft sponge) |
| Heavy, baked-on residue | Boiling water and dish soap method | 10–20 minutes active + soak | Only if insert is ceramic or stainless steel |
| Extreme carbonized buildup | Overnight soaking (salt or enzyme-based soap) | 8–12 hours | Yes (avoid abrasive scrubbing after) |
| Stubborn stains after home methods fail | Commercial cleaners (Bar Keepers Friend or Dawn Powerwash) | 15–45 minutes | Bar Keepers Friend: no for non-stickDawn Powerwash: yes |
If your goal is to clean burnt crock pot liner without scratching or warping it, match the method to the severity-not the other way around. A gentle soak might save hours of scrubbing for light burns, while scorched slow cooker disasters often need time, heat, or targeted chemistry.
The Science Made Simple: Why Food Burns in Slow Cookers
Understanding Heat Distribution and Temperature Control
Slow cookers rely on consistent, low-heat circulation from the sides and bottom-not the top. Because heat rises and liquids evaporate over time, the bottom of the insert receives the most direct and prolonged exposure, making it the prime spot for scorching if there’s not enough liquid or stirring. Many models also lack precise thermostats, so “Low” and “High” settings can vary widely between brands, sometimes creeping into temperature ranges that encourage caramelization or burning-especially with sugary or starchy dishes.
Common Causes Of Burnt Food in Crock-pots
- Insufficient liquid for the cooking time or recipe volume
- Leaving the cooker on “Warm” for too long after cooking
- Using recipes with high sugar, dairy, or thick sauces without adequate dilution
- Not stirring dense ingredients (like beans or rice) during long cooks
- Cooking on “High” when “Low” would suffice, causing rapid overheating at the base
Even a well-functioning crock-pot can scorch food if the recipe isn’t adapted to its unique heat pattern. Knowing this helps you clean smarter-and prevent future messes.
1. The Baking Soda and Hot Water Soak Method
What You’ll Need
- 1/2 to 1 cup baking soda (depending on pot size)
- Hot (not boiling) tap water
- Soft sponge or non-abrasive cloth
- Optional: dish soap for final rinse
Step-by-step Instructions
For Light Burns
- Sprinkle 1/2 cup baking soda evenly over the burnt area.
- Pour enough hot tap water to cover the residue by 1–2 inches.
- Let soak for 1–2 hours.
- Wipe clean with a soft sponge. Rinse thoroughly.
For Heavy Burns
- Add 1 cup baking soda to the insert.
- Fill with hot water until the burnt layer is submerged.
- Let soak overnight (8–12 hours).
- Use a plastic scraper or soft brush to gently lift loosened debris.
- Rinse well and wash with mild dish soap if needed.
Why This Method Works So Well
Baking soda is mildly alkaline, which helps break down carbonized food particles without scratching surfaces. When combined with hot water, it creates a gentle chemical reaction that softens burnt-on residue, making it far easier to wipe away—ideal for ceramic, stoneware, and non-stick liners alike. This method is also odor-neutralizing, so it tackles lingering smells while cleaning your burnt crock pot. Additionally, Baking soda is a versatile cleaning agent that can tackle a wide range of household tasks, making it a staple in many cleaning routines.
Also See: How to Remove Rust From Knives, Tools, and Stainless Steel
2. The Baking Soda and Vinegar Paste Technique
Creating the Perfect Cleaning Paste
Mix 3 parts baking soda with 1 part white vinegar to form a thick, spreadable paste. The fizzing reaction activates the cleaning power, creating a mildly abrasive yet non-scratching compound perfect for spot treatment on scorched areas. Stir just before use—the mixture loses potency after 1–2 minutes. This combination is not only effective for spot cleaning but also a key component in the ultimate guide to cleaning your oven with baking soda and vinegar. Discover how to achieve a sparkling clean oven using these simple, natural ingredients.
Application Process for Different Insert Materials
Ceramic Inserts
Apply a generous layer of paste directly to burnt spots. Let sit for 15–30 minutes. The porous nature of ceramic responds well to this method without damage.
Non-Stick Coated Inserts
Use a thinner layer of paste and reduce dwell time to 10–15 minutes. Avoid letting it dry out, as dried paste can become harder to remove and may require more scrubbing.
Stainless Steel Inserts
You can leave the paste on for up to 45 minutes. Stainless steel tolerates longer exposure and benefits from the paste’s degreasing action on baked-on oils.
Scrubbing and Rinsing Guidelines
- After the paste has sat, use a soft nylon brush or non-scratch sponge to gently scrub in circular motions.
- Rinse thoroughly with warm water to remove all traces of vinegar and baking soda.
- For lingering odor, wipe the insert with a damp cloth dipped in lemon juice or a drop of mild dish soap.
This paste method is excellent for targeted cleaning when you don’t want to soak the entire insert-especially useful for how to clean a scorched crockpot with minimal effort.
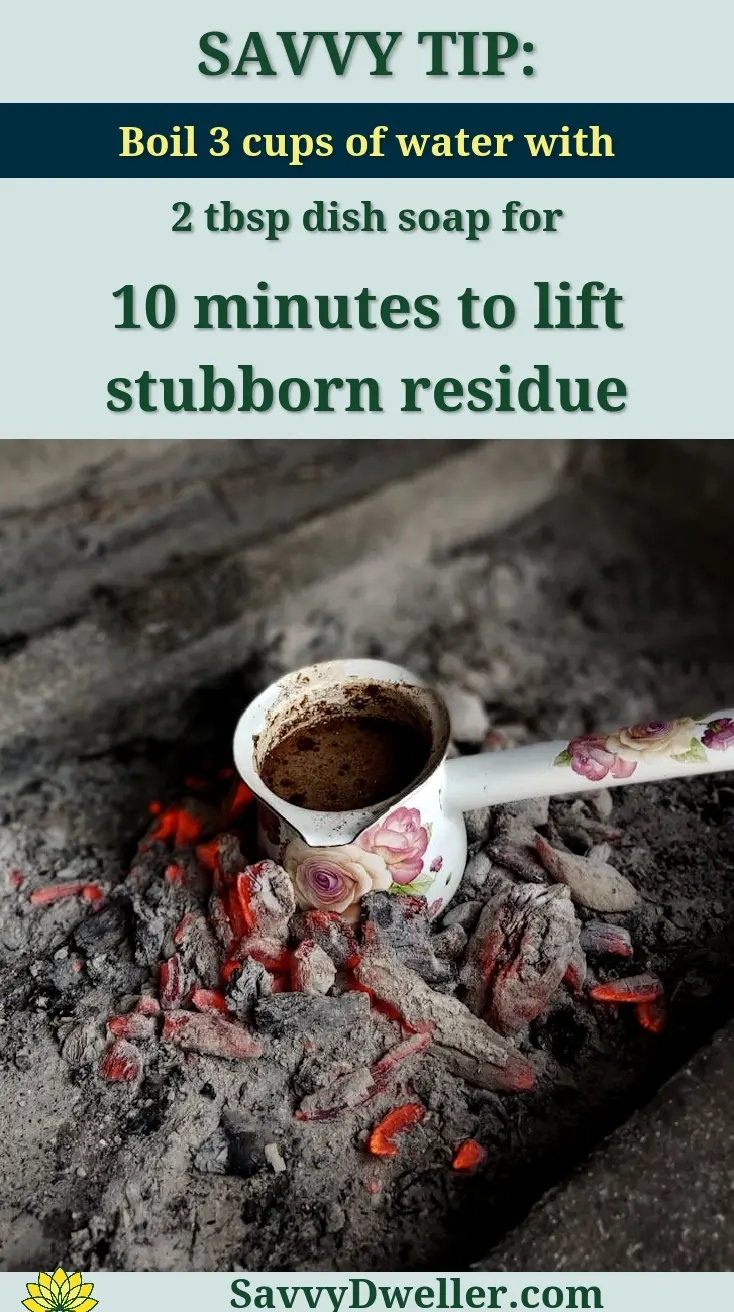
3. The Boiling Water and Dish Soap Method
When to Use This Approach
This method works best for recently burnt food that hasn’t fully carbonized-think scorched sauces, stuck-on rice, or caramelized sugars that are still slightly soft. It’s ideal for how to clean burnt food off pots and pans when you want to avoid scrubbing or harsh chemicals.
Safety Precautions for Hot Water Cleaning
Never pour boiling water into a cold ceramic insert-thermal shock can crack it. Always let the crock warm slightly first, or use water that’s just below boiling (around 190°F). Wear heat-resistant gloves and keep children and pets clear during the process.
Complete Step-by-step Process
For Removable Inserts
- Fill your sink with hot (not scalding) water-about 1–2 inches deep.
- Add 2–3 tablespoons of liquid dish soap (like Dawn) and swirl to dissolve.
- Place the warm insert gently into the soapy water. If it’s still hot from cooking, skip pre-warming.
- Let it soak for 30–60 minutes. The heat and soap will loosen burnt bits.
- Use a soft sponge or nylon brush to wipe away softened residue. Rinse thoroughly.
For Fixed Slow Cooker Pots
- Fill the pot halfway with water-just enough to cover the burnt area.
- Add 1–2 tablespoons of dish soap directly into the water.
- Set the slow cooker to “High” and let it simmer for 30–45 minutes (do not leave unattended).
- Turn off and let it cool slightly-until warm but safe to touch.
- Drain the water, then wipe clean with a non-abrasive sponge. Repeat if needed.
4. Commercial Cleaner Solutions
Bar Keepers Friend for Stubborn Stains
Bar Keepers Friend (BKF) is a gentle yet powerful oxalic acid–based powder that cuts through mineral deposits and burnt-on grime without scratching ceramic or stainless steel. It’s especially effective for how to clean scorched crockpot interiors that baking soda alone can’t tackle.
Application Instructions
- Dampen the burnt area with warm water.
- Sprinkle BKF powder directly onto the stain or mix with water to form a paste.
- Let it sit for 1–2 minutes (do not let it dry).
- Scrub gently with a soft sponge or nylon brush in circular motions.
- Rinse thoroughly with warm water until no residue remains.
Safety Considerations
Always wear gloves to protect your skin. Avoid using BKF on non-stick coated inserts-it can degrade the coating over time. Never mix it with bleach or ammonia.
Easy-off Oven Cleaner Guidelines
While not a first-choice option, heavy-duty oven cleaners like Easy-Off can help with extreme carbon buildup in cleaning a burnt slow cooker—but only on ceramic or stainless steel inserts, never on non-stick or plastic components. Regular maintenance can drastically reduce the need for heavy-duty solutions, especially when it comes to tackling oven-baked grease. Follow an ultimate guide on cleaning oven-baked grease for effective tips and techniques that save time and effort.
When It’s Appropriate to Use
Reserve this for how to clean a burnt out crock pot when all natural methods have failed and the insert is uncoated ceramic. Never use it on the heating base, electronics, or exterior.
Proper Ventilation and Protection
Work outdoors or in a well-ventilated kitchen with open windows. Wear rubber gloves, eye protection, and an apron. Spray a light mist (not a heavy coating), wait 15–20 minutes, then rinse thoroughly with hot water and mild soap to remove all chemical traces. Using an all-purpose cleaning spray with vinegar is a great alternative for those who prefer natural cleaning options. This vinegar-based solution is effective for cutting through grease and grime, making it a perfect choice for various surfaces.
Dawn Powerwash for Grease and Burnt Food
Dawn Powerwash’s pre-diluted, concentrated formula cuts through baked-on grease and light scorching without scrubbing. It’s a smart go-to for clean burnt crockpot liner tasks when residue is greasy rather than carbonized. Spray directly on cooled, dry surfaces, let sit 10 minutes, then wipe with a damp cloth. Safe for ceramic, stainless steel, and even non-stick finishes when used as directed. This same powerful approach can be applied to clean greasy gas stovetop grates, making them look brand new with minimal effort. For the best results, using a product designed specifically for tough kitchen grime can simplify the task even further.
5. Special Cleaning Techniques for Lids and Gaskets
Cleaning the Slow Cooker Lid
Lids often collect sticky condensation and splatter that harden over time. Neglecting the lid means your clean burnt slow cooker still smells off or looks grimy. Always clean it separately from the base.
Removing Steam Vent Buildup
- Use a cotton swab dipped in white vinegar or dish soap to clean around the steam vent hole.
- For clogged vents, insert a toothpick gently to dislodge debris-never use metal pins.
- Rinse under warm water and dry with a microfiber cloth.
Addressing Glass vs. Plastic Lids
- Glass lids: Soak in warm, soapy water for 15 minutes. Use a sponge with baking soda for cloudy film.
- Plastic lids: Wipe with a vinegar-water solution (1:1) to prevent warping. Avoid hot water and abrasive pads that cause scratches and trap odors.
Maintaining Rubber Sealing Rings
The rubber gasket (common in multi-cookers with slow functions) absorbs smells and stains. For how to clean a burnt slow cooker with a gasket, never ignore this part—it’s often the source of lingering odors. Consider using natural deodorizers like vinegar or baking soda; these simple options are an easy way to eliminate the burnt food smell. These solutions can help restore a fresh scent in your kitchen.
Removing Odors and Stains
- Remove the gasket and soak it in a bowl of warm water with 2 tablespoons baking soda for 1 hour.
- For mildew smells, add ¼ cup white vinegar to the soak.
- Scrub gently with a soft toothbrush, rinse, and air-dry completely before reattaching.
When to Replace vs. Clean
If the rubber is cracked, brittle, or still smells after cleaning, it’s time to replace it. Most brands sell replacements online. A degraded gasket won’t seal properly, compromising cooking performance and safety.
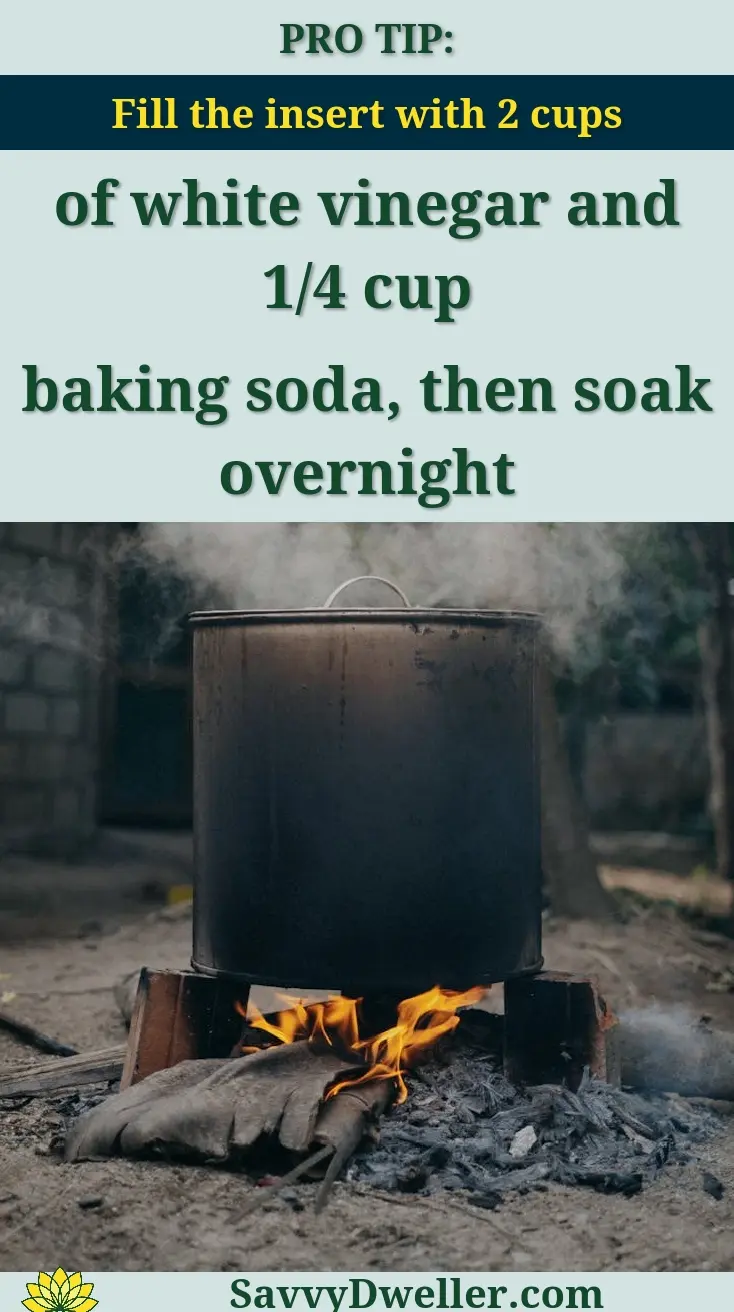
6. The Overnight Soaking Method for Extreme Burns
Preparing the Long-term Soak
For a badly burnt crock pot or slow cooker insert, the overnight soak gives time for carbonized food to soften without aggressive scrubbing. Start by filling the insert with the hottest tap water your pipes allow-just below boiling-to avoid thermal stress on ceramic. Add your chosen soaking agent before letting it sit undisturbed for 8–12 hours.
Best Soaking Solutions for Different Burn Types
Salt and Hot Water Combination
Coarse salt acts as a gentle abrasive while drawing moisture into burnt-on layers. Ideal for starch-heavy or sugary scorches like rice, sauces, or caramelized vegetables.
- Fill the insert with hot water until it covers the burnt area by at least 1 inch.
- Add ½ cup of kosher or sea salt (not table salt-it dissolves too quickly).
- Let sit overnight, uncovered, on the countertop.
Enzyme-Based Dish Soap Solutions
Enzymatic dish soaps contain natural proteins that break down organic matter-perfect for protein-based burns like meat drippings or dairy curds.
- Use 2–3 tablespoons of enzyme-rich dish soap (look for “bio-enzymatic” on the label).
- Mix into a basin of hot water, then pour into the slow cooker insert.
- Soak overnight. The enzymes work slowly, so patience is key for a clean burnt slow cooker liner without scratching.
Morning Cleanup Process
After soaking, most burnt residue should lift with minimal effort. Drain the water and gently wipe the interior with a soft sponge. If any dark patches remain, repeat the soak or follow with a baking soda paste—never rush to steel wool. Rinse thoroughly and dry completely before reassembling your unit. To keep your iron in good shape, ensuring a clean bottom is essential to remove any burnt residue effectively. Regular maintenance helps to prevent buildup and prolongs the life of your appliance.
7. Safe Scraping and Scrubbing Techniques
Choosing the Right Tools
Plastic Scrapers vs. Metal Tools
A plastic bench scraper or nylon pan scraper is your best friend for lifting loosened char without gouging ceramic or non-stick coatings. Metal tools-even spoons-can leave permanent scratches that trap future stains and compromise your how to clean a burnt slow cooker results long-term.
Soft-Bristle Brushes and Sponges
- Use a dish brush with nylon bristles for textured areas like the base rim.
- Opt for non-scratch sponges (blue or white, not green or gray) for smooth surfaces.
- For crevices around the lid seal or heating coil edge, an old soft toothbrush works well.
Protecting Non-stick Surfaces
If your insert has a non-stick coating, even light abrasion can degrade it over time. Stick to soaking and enzyme methods first, and only use plastic or silicone tools-never metal or abrasive pads-on coated interiors. This preserves your crock pot cleaning tips effectiveness for years.
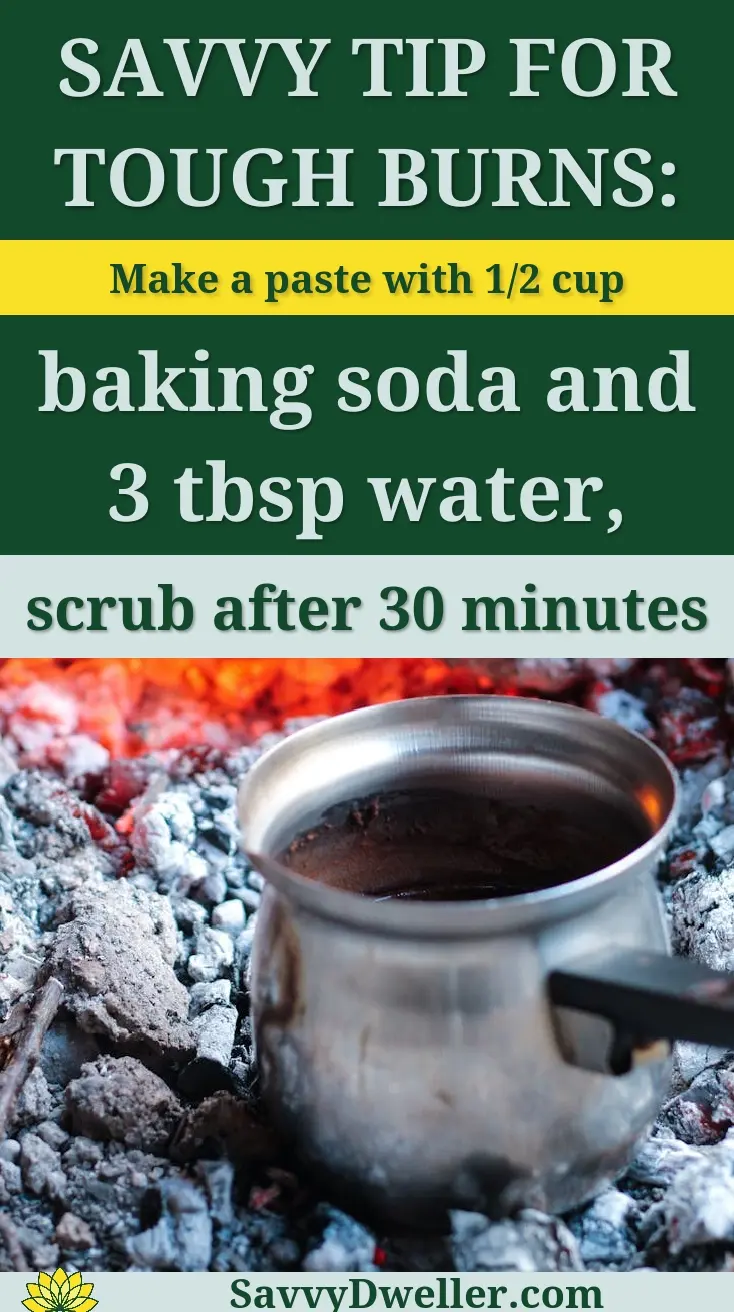
Removing Stubborn Spots Without Damage
For a scorched crockpot spot that won’t budge, make a thick paste of baking soda and water. Apply it directly, let it sit 20 minutes, then gently rub in small circles with a soft sponge. The mild abrasion lifts residue while protecting the surface-ideal for how to get burnt crock pot clean without compromising the insert.
Common Mistakes to Avoid When Cleaning Burnt Slow Cookers
Never Use These Cleaning Methods
Abrasive Cleaners and Steel Wool
Scouring powders like Comet or SOS pads can permanently scratch ceramic and strip non-stick linings. Even “gentle” abrasives build up microscopic damage over time, making future cleaning harder and raising food safety concerns.
Harsh Chemicals That Damage Surfaces
Chlorine bleach, ammonia-based sprays, or undiluted oven cleaners can etch ceramic glazes or corrode metal components. While products like Easy-Off have a place (used cautiously and with ventilation), they’re not for routine scorched crock pot cleaning.
Temperature Mistakes That Make Cleaning Harder
Pouring cold water into a still-warm ceramic insert causes thermal shock-tiny cracks that trap stains and odors. Always let your slow cooker cool completely before cleaning to protect its integrity and make your how to clean a burnt crock pot efforts more effective.
Soaking Errors That Can Cause More Problems
Over-Soaking Non-Stick Surfaces
While ceramic can handle long soaks, non-stick coatings may degrade if submerged for more than 12 hours-especially in hot, soapy water. Stick to 6–8 hours max for coated inserts when you clean burnt crockpot liner materials.
Using Cold Water on Hot Ceramic
This is a fast track to cracking. Ceramic inserts expand when hot; sudden cold contracts them unevenly. For safe cleaning of a burnt out crock pot, always wait until it reaches room temperature before adding any liquid.
Frequently Asked Questions
How Can I Prevent My Slow Cooker From Burning Food in the Future?
To avoid burnt food, always use enough liquid in your recipes-at least one cup for most dishes to create steam and prevent drying. Additionally, avoid frequently lifting the lid, as this releases heat and causes temperature fluctuations that can lead to burning. Properly sizing your slow cooker to the recipe volume and using low heat settings for longer cooks also helps maintain even cooking.
What Should I Do if a Burnt Odor Persists After Cleaning?
For lingering odors, create a paste of baking soda and water and spread it inside the insert, letting it sit for a few hours before rinsing. Baking soda neutralizes smells effectively. If the odor remains, simmer a mixture of water and white vinegar in the slow cooker for 20-30 minutes, then scrub and rinse. Always dry the insert thoroughly before storage to prevent mildew.
Is It Safe to Clean My Slow Cooker Insert in the Dishwasher?
Check your manufacturer’s guidelines, as ceramic inserts are often dishwasher-safe, but non-stick coatings may require hand washing to avoid damage. If dishwasher-safe, place the insert on the top rack and use a gentle cycle. Avoid harsh dishwasher detergents for non-stick surfaces, and pre-soak heavily burnt inserts instead of relying solely on the dishwasher.
Are Slow Cooker Liners a Good Option to Prevent Burnt-on Food?
Liners can simplify cleanup by creating a barrier between food and the insert, reducing burning risk. However, choose BPA-free liners rated for high heat to minimize chemical leaching concerns. Be mindful of environmental impact; as an alternative, ensure proper recipe moisture and avoid overfilling to prevent burns without liners.
How Should I Clean the Exterior Heating Base Of My Slow Cooker?
First, unplug and cool the base completely. Wipe it with a damp cloth and mild dish soap, avoiding electrical parts. Never submerge the base in water. For stains, use a soft sponge with a baking soda paste, but avoid abrasive tools to prevent scratches. Dry thoroughly before use to maintain safety and appearance.
Final Words
Cleaning a burnt slow cooker doesn’t have to mean throwing in the towel on your favorite kitchen appliance. With the right method matched to your burn severity and insert material, you can restore your Crock-Pot to like-new condition using simple household ingredients. The baking soda soak works wonders for light burns, while the paste technique tackles stubborn buildup without damaging delicate surfaces.
Remember that patience is your best friend when dealing with burnt-on food – rushing the process with harsh scrubbing or abrasive cleaners often creates more problems than it solves. Take your time, choose the gentlest method that will still be effective, and your slow cooker will be ready for many more delicious meals.
Ready to get started? Pick the method that matches your situation and give it a try today. For more practical home solutions and kitchen maintenance tips, check out Savvy Dwelling where we share tried-and-tested advice for keeping your home running smoothly.

