The Best Homemade Weed Killer (Pet-safe Non-toxic and Effective)
Tired of watching weeds take over your beautiful yard while worrying about your furry family members’ safety? You shouldn’t have to choose between a pristine lawn and your pet’s health. Commercial weed killers contain harsh chemicals that can harm dogs, cats, and other beloved animals, yet those stubborn dandelions and crabgrass keep spreading.
This guide reveals six proven homemade weed killer recipes that actually work without putting your pets at risk. We’ve tested these natural solutions extensively and will show you exactly how to mix, apply, and time each treatment for maximum effectiveness. You’ll finally have a weed-free yard where your pets can play safely.
Contents
- At a Glance: The Best Pet-safe Weed Killer Solutions
- 1. White Vinegar Weed Killer
- 2. Boiling Water Treatment
- 3. Dish Soap and Vinegar Combination
- 4. Essential Oil Weed Killer
- 5. Salt-based Weed Killer (With Important Cautions)
- 6. Corn Gluten Meal Pre-emergent
- The Science Made Simple: Why Weeds Thrive in Your Yard
- Application Tips for Maximum Effectiveness
- Common Mistakes to Avoid When Using Homemade Weed Killers
- Frequently Asked Questions
- Final Words
At a Glance: The Best Pet-safe Weed Killer Solutions
Your furry friends deserve a safe yard, and you deserve a weed-free garden. The best homemade weed killer solutions combine effectiveness with pet safety, using simple ingredients you likely already have at home.
Each natural weed killer homemade option works differently. Some attack weeds on contact, while others prevent new growth entirely.
| Method | Effectiveness | Pet Safety | Best For | Time to Results |
|---|---|---|---|---|
| White Vinegar | High on young weeds | Safe when dry | Driveways, walkways | 24-48 hours |
| Boiling Water | Immediate kill | Safe immediately | Isolated weed patches | Instant |
| Dish Soap + Vinegar | Very high | Safe with pet-friendly soap | Stubborn broadleaf weeds | 2-3 days |
| Essential Oils | Moderate | Depends on oil type | Garden borders | 3-5 days |
| Salt-Based | Very high | Safe but soil concerns | Non-growing areas only | 1-2 weeks |
| Corn Gluten Meal | Prevention only | Completely safe | Pre-emergent control | Seasonal prevention |
The most versatile pet safe homemade weed killer is white vinegar with a 20% acetic acid concentration. It works quickly, costs little, and poses minimal risk to pets once the treated area dries. White vinegar can also be transformed into an all-purpose cleaning spray that is both effective and eco-friendly. Mixing it with water creates a simple solution perfect for a variety of cleaning tasks around the home.
For immediate results, boiling water kills weeds instantly. For tough perennial weeds, the dish soap and vinegar combination penetrates waxy leaf surfaces more effectively than vinegar alone.
Choose your method based on weed type, location, and how quickly you need results. Every effective homemade weed killer on this list outperforms store-bought chemicals in safety while matching their weed-killing power.
1. White Vinegar Weed Killer
How It Works
White vinegar disrupts the cellular structure of weed leaves through its acetic acid content. The acid literally burns through the waxy coating that protects plant tissues, causing rapid dehydration and cell death.
This homemade weed killer works best on young, tender weeds rather than established perennials with deep root systems. You’ll see results within hours on a sunny day, making it one of the most effective homemade weed killer options for quick spot treatments.
What You’ll Need
- White vinegar (5% acidity minimum – higher concentrations work faster)
- Spray bottle or garden sprayer
- Measuring cup
- Funnel (optional but helpful)
Step-by-step Instructions
- Choose a sunny, windless day for application when no rain is forecast for 24 hours.
- Fill your spray bottle directly with undiluted white vinegar – no mixing required.
- Target individual weeds by spraying directly onto leaves and stems until thoroughly saturated.
- Avoid spraying nearby grass or desired plants, as vinegar will damage them too.
- Reapply every 2-3 days for stubborn weeds until they completely die back.
- Wait 48 hours before allowing pets back into treated areas to ensure complete drying.
Pet Safety Notes
Undiluted vinegar is completely safe for pets once it dries, but the strong smell and acidity can irritate sensitive noses and paws when wet. Keep dogs and cats indoors during application and for about two hours afterward, especially if you are using vinegar in the laundry.
This non toxic homemade weed killer poses no long-term health risks to pets or wildlife. Unlike commercial herbicides, vinegar breaks down quickly in soil without leaving harmful residues.
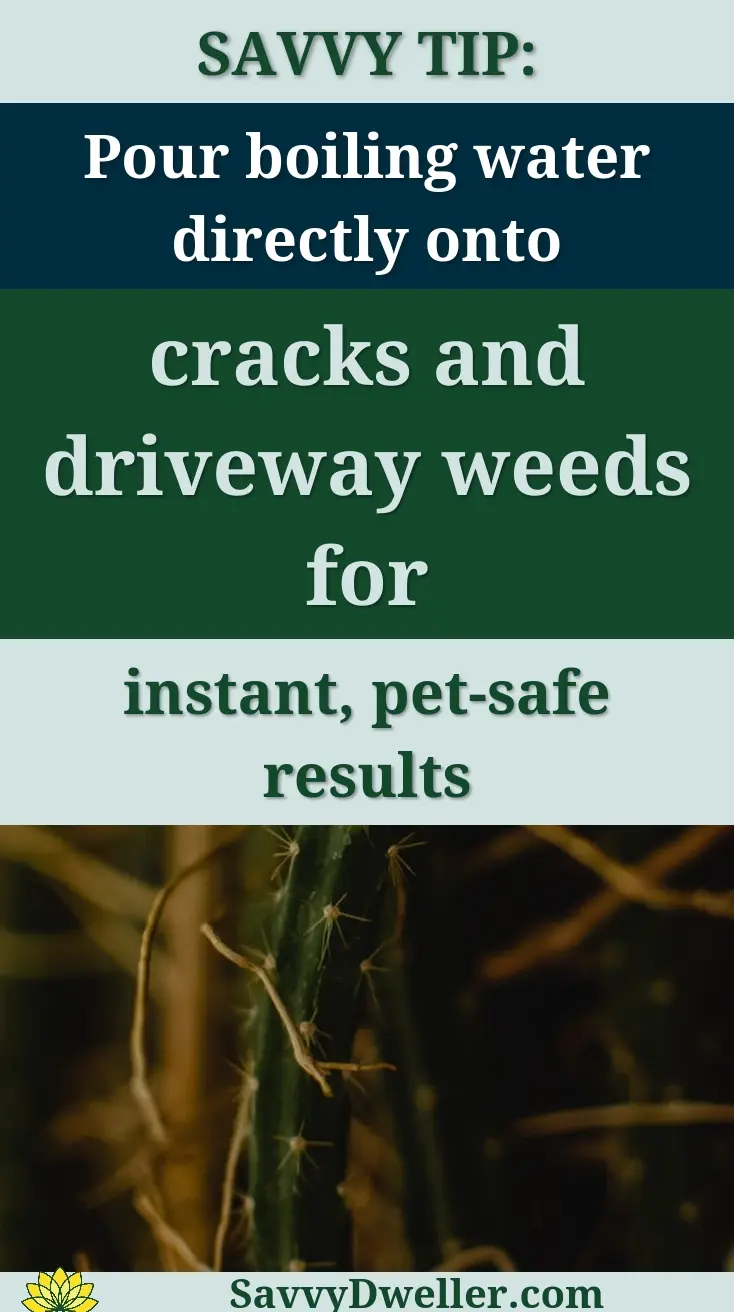
2. Boiling Water Treatment
How It Works
Boiling water instantly destroys plant cells by breaking down proteins and bursting cellular walls. This physical destruction method works immediately and requires no chemicals whatsoever.
The extreme heat penetrates several inches into soil, killing both visible weeds and shallow root systems. This makes it particularly effective for walkway cracks and driveway edges where weeds tend to cluster.
What You’ll Need
- Large pot or kettle for boiling water
- Heat-resistant watering can or large measuring cup
- Protective gloves
- Closed-toe shoes
Step-by-step Instructions
- Boil a large pot of water on your stove or outdoor burner.
- Carefully transfer the hot water to a watering can or heat-resistant container.
- Pour slowly and steadily over target weeds, focusing on the base of each plant.
- Use approximately one cup of boiling water per small weed cluster.
- Watch for immediate wilting – this indicates successful treatment.
- Allow the area to cool completely before letting pets return (usually 30 minutes).
Best Uses and Limitations
This pet safe homemade weed killer works exceptionally well on annual weeds, moss, and grass growing in unwanted areas. Walkways, patios, and gravel driveways respond particularly well to boiling water treatments.
However, deep-rooted perennials may regrow from their root systems within weeks. You’ll also need to be extremely careful around desirable plants, as boiling water kills everything it touches indiscriminately.
Also See: DIY Bed Bug Traps: How to Make Them With Household Items
3. Dish Soap and Vinegar Combination
How It Works
Adding dish soap to vinegar creates a more effective homemade weed killer by helping the solution stick to waxy leaf surfaces. The soap acts as a surfactant, allowing the vinegar to penetrate deeper into plant tissues.
This combination targets the protective barriers that many weeds use to resist treatments, making your natural weed killer homemade solution significantly more potent. The soap also helps prevent the vinegar from simply rolling off smooth leaves.
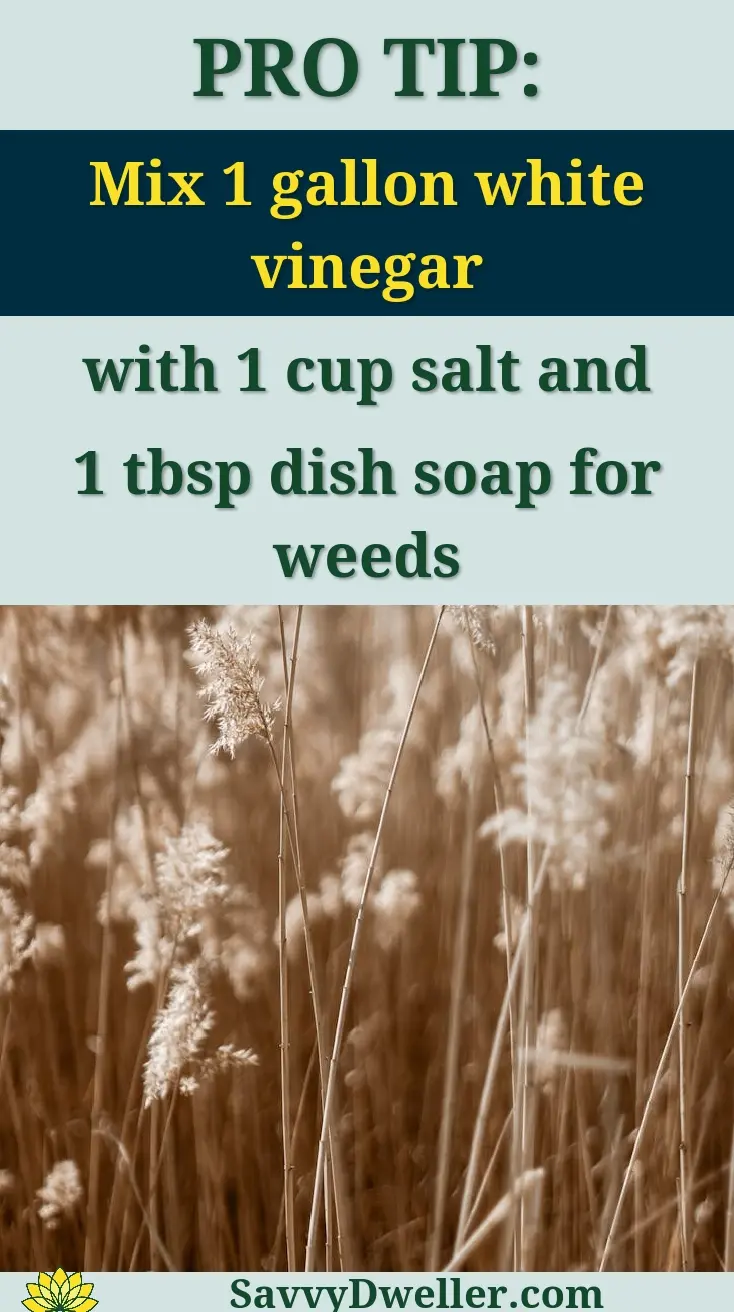
What You’ll Need
- 2 cups white vinegar (5% acidity or higher)
- 1 tablespoon liquid dish soap
- Spray bottle (16 oz or larger)
- Measuring spoons
Step-by-step Instructions
- Pour the white vinegar into your spray bottle first.
- Add exactly one tablespoon of dish soap – more soap can actually reduce effectiveness.
- Gently swirl the bottle to mix without creating excessive foam.
- Spray directly onto weed leaves during sunny conditions for maximum impact.
- Cover all visible green parts thoroughly, but avoid oversaturating the soil.
- Clean your spray bottle immediately after use to prevent soap residue buildup.
Choosing Pet-safe Soap
Select dish soaps labeled as biodegradable and free from phosphates, dyes, and strong fragrances for the safest homemade weed killer recipe pet safe. Dawn Original, Seventh Generation, and Dr. Bronner’s Pure-Castile soaps work well. Beyond their use in cleaning, Dawn dish soap has surprising applications that can be quite beneficial around the house. From tackling grease stains to serving as a pest control solution, exploring the 25 amazing uses of Dawn dish soap opens up a world of practical solutions.
Avoid antibacterial soaps, as these contain triclosan and other chemicals that can persist in soil. The goal is creating the best pet safe homemade weed killer that breaks down quickly after doing its job.
4. Essential Oil Weed Killer
How It Works
Essential oils work as a natural weed killer homemade solution by disrupting plant cell membranes and dehydrating unwanted vegetation. The concentrated compounds in certain oils create an acidic environment that burns leaf surfaces on contact.
This method works best on young weeds and tender growth. Unlike synthetic herbicides, essential oil treatments may require multiple applications for stubborn perennial weeds.
What You’ll Need
Safe Essential Oils for Pets
- Orange essential oil – highly effective against broadleaf weeds
- Lemon essential oil – safe citrus option with good results
- Clove oil – potent herbicidal properties, pet-safe when diluted
- Cinnamon oil – gentle yet effective for sensitive areas
- Peppermint oil – doubles as pest deterrent
Essential Oils to Avoid
- Tea tree oil – toxic to cats and dogs
- Eucalyptus oil – respiratory irritant for pets
- Pennyroyal oil – highly toxic to animals
- Wintergreen oil – contains methyl salicylate, dangerous for pets
Step-by-step Instructions
- Mix 10-15 drops of pet-safe essential oil with 1 cup warm water in spray bottle
- Add 1 tablespoon liquid castile soap as emulsifier
- Shake thoroughly before each use to maintain mixture
- Apply during sunny morning hours for maximum effectiveness
- Spray directly onto weed foliage, avoiding desirable plants
- Reapply every 3-4 days until weeds yellow and die
- Keep pets away from treated areas until spray dries completely
5. Salt-based Weed Killer (With Important Cautions)
How It Works
Salt dehydrates plant cells by creating osmotic pressure that draws moisture from weed tissues. This process causes rapid cellular damage and plant death within hours of application.
Salt also alters soil composition by increasing salinity levels. This makes it difficult for any vegetation to establish in treated areas, creating long-term weed suppression.
What You’ll Need
- 1 cup table salt or rock salt
- 1 gallon warm water
- Large spray bottle or watering can
- Protective gloves
Step-by-step Instructions
- Dissolve 1 cup salt completely in 1 gallon warm water
- Pour mixture into spray bottle or watering can
- Apply directly to weed foliage on sunny, windless day
- Saturate entire plant including root area
- Avoid overspray onto surrounding soil or desirable plants
- Results typically visible within 24-48 hours
When to Use and When to Avoid
Use salt-based treatments only on driveways, walkways, and areas where you never want vegetation to grow again. Salt creates long-lasting soil sterility that prevents future plant growth. However, for healthy plants, exploring natural alternatives is beneficial. One such alternative is Epsom salt, which can promote vibrant plant growth by providing essential nutrients like magnesium and sulfur.
Avoid using this homemade weed killer recipe near garden beds, lawns, or areas with desirable plants. Salt can leach into surrounding soil through rainfall and irrigation, damaging nearby vegetation.
Never apply salt treatments near water sources, storm drains, or areas prone to runoff. High soil salinity can harm beneficial soil organisms and contaminate groundwater.
6. Corn Gluten Meal Pre-emergent
How It Works
Corn gluten meal prevents weed seeds from developing roots by releasing proteins that inhibit root formation during germination. This makes it an excellent preventive measure rather than a treatment for existing weeds.
The natural proteins in corn gluten create a barrier effect in soil. Seeds begin to sprout but cannot establish proper root systems, causing seedlings to die before becoming established weeds.
What You’ll Need
- 20 pounds corn gluten meal per 1,000 square feet
- Broadcast spreader or garden rake
- Garden hose with sprinkler attachment
- Timing calendar for your area
Step-by-step Instructions
- Apply corn gluten meal when soil temperature reaches 50-55°F
- Spread evenly using broadcast spreader at 20 lbs per 1,000 sq ft
- Rake lightly to work material into top inch of soil
- Water thoroughly to activate protein compounds
- Maintain consistent soil moisture for 4-6 weeks
- Reapply annually before weed germination season
Timing for Best Results
Apply this pet safe homemade weed killer 2-3 weeks before expected weed germination in your region. For most areas, this means early spring application when forsythia begins blooming.
Corn gluten meal works only on seeds, not established weeds. Once weeds have emerged and developed root systems, this treatment becomes ineffective.
Plan applications around your local frost dates and soil temperature patterns. Consistent timing year after year creates the most effective weed prevention program.
The Science Made Simple: Why Weeds Thrive in Your Yard
Understanding Weed Growth Patterns
Weeds succeed where grass and flowers struggle because they’re opportunistic survivors. They germinate faster, establish deeper root systems, and adapt to poor soil conditions that stress your desired plants.
Most weeds fall into three categories: annuals that complete their life cycle in one year, biennials that take two years, and perennials that return season after season. Annual weeds like crabgrass spread rapidly through seeds, while perennial weeds like dandelions regenerate from their taproot system even after you remove the visible growth.
Disturbed soil creates perfect germination beds for weed seeds. Every time you dig, till, or even walk heavily across your lawn, you’re potentially activating dormant seeds that have been waiting for the right moment to sprout.
Why Natural Solutions Work
The best homemade weed killer targets the same biological processes that commercial herbicides attack, just through gentler mechanisms. Vinegar-based solutions work by lowering the pH around plant tissues, causing cellular damage that leads to dehydration and death.
Boiling water destroys plant proteins instantly, while soap breaks down the waxy protective coating on leaves, making other ingredients more effective. Essential oils contain natural compounds like citrus d-limonene that interfere with plant cellular functions.
These homemade weed killer recipes work because they exploit the same vulnerabilities in plant biology that synthetic chemicals target. The difference lies in their gentler environmental impact and reduced toxicity to non-target organisms.
Pet Safety Vs. Effectiveness Balance
Finding an effective homemade weed killer that’s also pet safe requires understanding the trade-offs. Highly effective ingredients like concentrated salt can harm both weeds and pets, while gentler options like vinegar may require multiple applications.
Pet safe homemade weed killer solutions typically work through contact action rather than systemic absorption. This means they’re safer for animals but may not kill deep-rooted weeds as thoroughly as synthetic alternatives.
The key is choosing the right natural weed killer homemade recipe for your specific situation. Areas where pets frequently play need the gentlest formulations, while isolated spots can handle stronger concentrations.
Application Tips for Maximum Effectiveness
Best Weather Conditions
Sunny, dry weather amplifies the effectiveness of most homemade weed killer recipes. Apply your non toxic homemade weed killer on days when temperatures reach 70-85°F with low humidity and no rain expected for 24-48 hours.
Wind speeds below 10 mph prevent drift onto desirable plants. Morning applications work best because weeds have had overnight to rehydrate, making them more susceptible to contact herbicides.
Avoid applying during the heat of midday when rapid evaporation reduces contact time. The ideal window is typically 8-10 AM when dew has dried but temperatures haven’t peaked.
Proper Timing and Frequency
Young, actively growing weeds respond better to homemade weed killer treatments than mature, established plants. Target weeds when they’re 2-4 inches tall for maximum absorption and effectiveness.
Most natural weed killer homemade solutions require 2-3 applications spaced 3-7 days apart. The first treatment weakens the plant, while subsequent applications finish the job as new growth attempts to emerge.
Pre-emergent treatments like corn gluten meal work best in early spring before soil temperatures consistently reach 50°F. Post-emergent treatments should begin as soon as you notice new weed growth.
Target Application Techniques
Precision application prevents waste and protects desired plants. Use a spray bottle with an adjustable nozzle for spot treatments, or a foam brush for applying homemade weed killer directly to individual leaves.
Completely saturate weed foliage until the solution begins dripping from leaf edges. Focus on growing tips and new shoots where cellular activity is highest.
For large areas, use a garden sprayer with a fan nozzle held 6-12 inches from target weeds. Mark treated areas with flags to track effectiveness and plan follow-up applications.
Protecting Desired Plants
Shield valuable plants before applying any homemade weed killer recipe. Cover nearby flowers, vegetables, or grass with cardboard, plastic sheeting, or newspaper during treatment. Protecting your plants from harmful substances is just one way to ensure their health. Incorporating natural methods to prevent pests can bolster the defenses of fruit trees and keep them flourishing.
Create physical barriers using cut plastic bottles or cardboard tubes around individual weeds growing near desirable plants. This allows precise application without drift concerns.
Apply treatments on calm days and use targeted applicators rather than broad-spray methods. Even pet safe homemade weed killer can damage plants you want to keep if applied carelessly.
Common Mistakes to Avoid When Using Homemade Weed Killers
Over-application Errors
Using too much of even the best homemade weed killer can damage soil and harm beneficial organisms. More isn’t always better – excessive salt or vinegar can create dead zones where nothing will grow for months.
Follow recipe ratios exactly rather than strengthening concentrations. Over-application wastes materials and can make soil temporarily unsuitable for replanting with desired species.
Repeated heavy applications of salt-based solutions can alter soil chemistry permanently. Stick to recommended frequencies and concentrations to maintain long-term soil health.
Wrong Weather Timing
Applying homemade weed killer before rain washes away active ingredients before they can work. Check weather forecasts and avoid treatments if precipitation is expected within 24 hours.
Extremely hot weather causes rapid evaporation, reducing contact time and effectiveness. Temperatures above 90°F can stress treated plants without killing them, leading to stronger regrowth.
Dewy conditions dilute concentrations and reduce effectiveness. Wait for morning dew to evaporate completely before applying any non toxic weed killer solution.
Mixing Incompatible Ingredients
Combining different homemade weed killer recipes can neutralize active ingredients or create ineffective solutions. Stick to one proven formulation at a time rather than mixing multiple treatments together.
Soap and oil combinations can separate if not properly emulsified, leading to uneven coverage and poor results. Use recipes that specify compatible ingredients and mixing methods, especially when used for cleansing the skin.
Adding fertilizers or other soil amendments to weed killer mixtures can feed the very plants you’re trying to eliminate. Keep treatments simple and focused on their intended purpose.
Ignoring Pet Access Areas
Even pet safe homemade weed killer can cause stomach upset if consumed in large quantities. Block pet access to treated areas until solutions have dried completely, typically 2-4 hours.
Essential oil-based treatments may be appealing to curious pets who could lick treated surfaces. Use physical barriers or choose alternative methods in high-traffic pet areas. To keep your home fresh and clean, consider using essential oil blends that not only smell delightful but also help in purifying the air. The best essential oil blends for a fresh, clean home combine uplifting scents with natural cleaning properties.
Mark treated zones with temporary fencing or flags to remind family members to keep pets away during the active treatment period. This simple step prevents accidental exposure and ensures treatment effectiveness.

Frequently Asked Questions
How Long Does It Typically Take for Homemade Weed Killers to Show Effects?
The time frame varies by method, but most solutions like vinegar-based sprays cause visible wilting within 24 to 48 hours under sunny conditions. For tougher, perennial weeds, you may need multiple applications over a week or two to fully eradicate them, as these treatments target foliage and may not immediately kill deep roots.
Are There Any Environmental Concerns With Using Salt or Vinegar-based Solutions?
Yes, overuse can impact soil health; salt-based solutions are particularly risky as they can render soil sterile and harm nearby plants. Vinegar is acidic but biodegradable, so use it sparingly and avoid runoff into waterways. For eco-friendliness, opt for boiling water or corn gluten meal in sensitive areas to minimize long-term effects.
Can These Methods Be Used Effectively on Perennial Weeds With Deep Roots?
While boiling water or vinegar can weaken perennial weeds like dandelions, they often require repeated applications to target regrowth from roots. For best results, apply treatments every few days after rain, and consider physically digging out the root system for complete removal, as homemade killers are less systemic than chemical options.
What is the Shelf Life Of Homemade Weed Killer Mixtures, and How Should They Be Stored?
Most mixtures, especially those with vinegar, have a short shelf life of about one to two weeks if stored in a sealed container away from light. To maintain potency, label containers with dates and discard any that develop odors or separation. Avoid storing near pets or food, and never reuse containers from harsh chemicals.
If a Pet Shows Interest in the Treated Area, What Immediate Steps Should I Take?
First, gently restrain your pet and rinse any residue from their paws or fur with water. Monitor for symptoms like vomiting or lethargy, and contact your vet if concerns arise. To prevent issues, keep pets away until the area is fully dry, typically a few hours, and consider using physical barriers during application. When dealing with pests like spiders, safety for pets and kids is essential, which is why making a homemade spider spray that is safe for both can be a clever solution.
Final Words
Creating your own pet-safe weed killer doesn’t require complicated chemicals or expensive equipment. With simple ingredients like white vinegar, boiling water, and carefully selected essential oils, you can maintain a beautiful yard while keeping your furry family members completely safe. These natural solutions work effectively when applied correctly and consistently.
Remember that persistence is key with homemade weed killers. Unlike harsh commercial products, these gentle alternatives may require multiple applications, but they’re worth the extra effort for your pet’s health and your peace of mind. The best approach combines preventive measures like corn gluten meal with targeted treatments using vinegar-based solutions for existing weeds.
Ready to transform your yard into a pet-friendly, weed-free space? Start with the white vinegar solution today and watch how effectively nature can work in your favor. For more innovative home and wellness solutions that put your family’s safety first, explore our complete collection of guides at Savvy Dwelling and stay connected for fresh tips that make everyday living healthier and smarter.

